

How to add more scopes to the custom Shopify app
Part 1 — Add the new scopes to the Shopify app
- Find your Shopify app in the Shopify dev dashboard and go to the Overview tab.
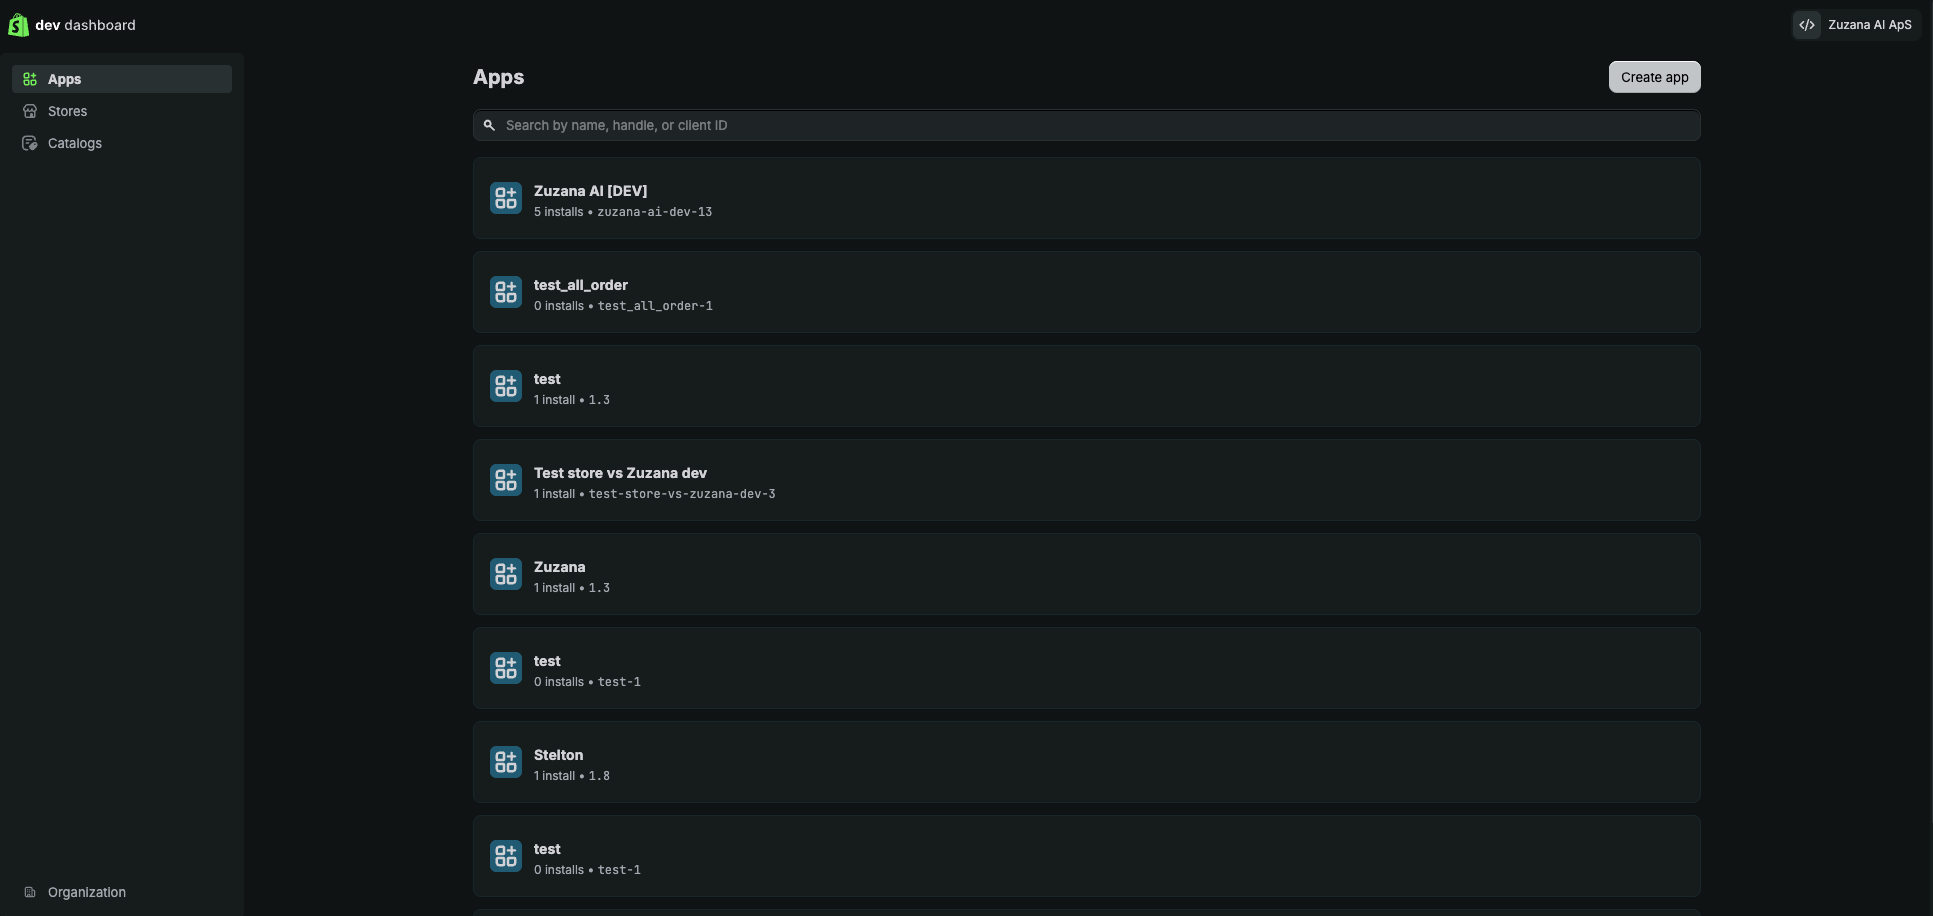
Step 1 - In the Versions card (right side), click New version.
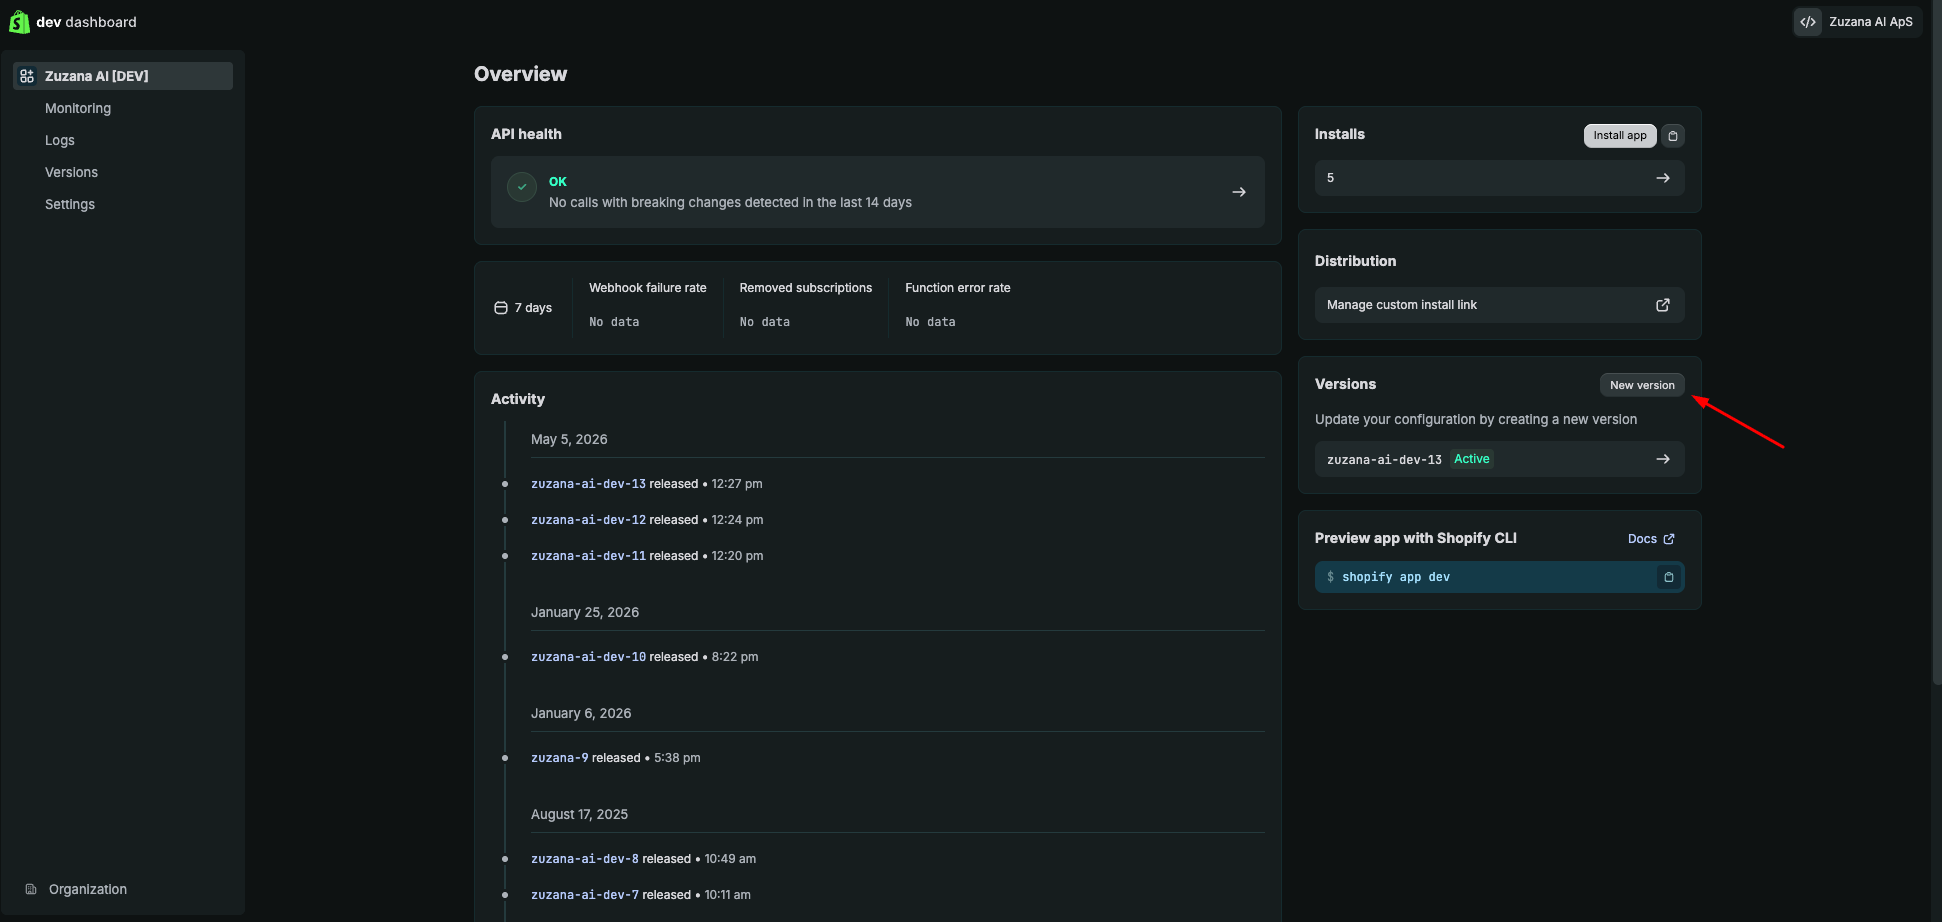
Step 2 - On the Create version page, scroll to Access → Scopes. You'll see the current comma-separated list of your current permissions.
- Add the new scope(s) to that list. Keep it comma-separated with no spaces (e.g. append ,read_all_orders or whatever you're adding).
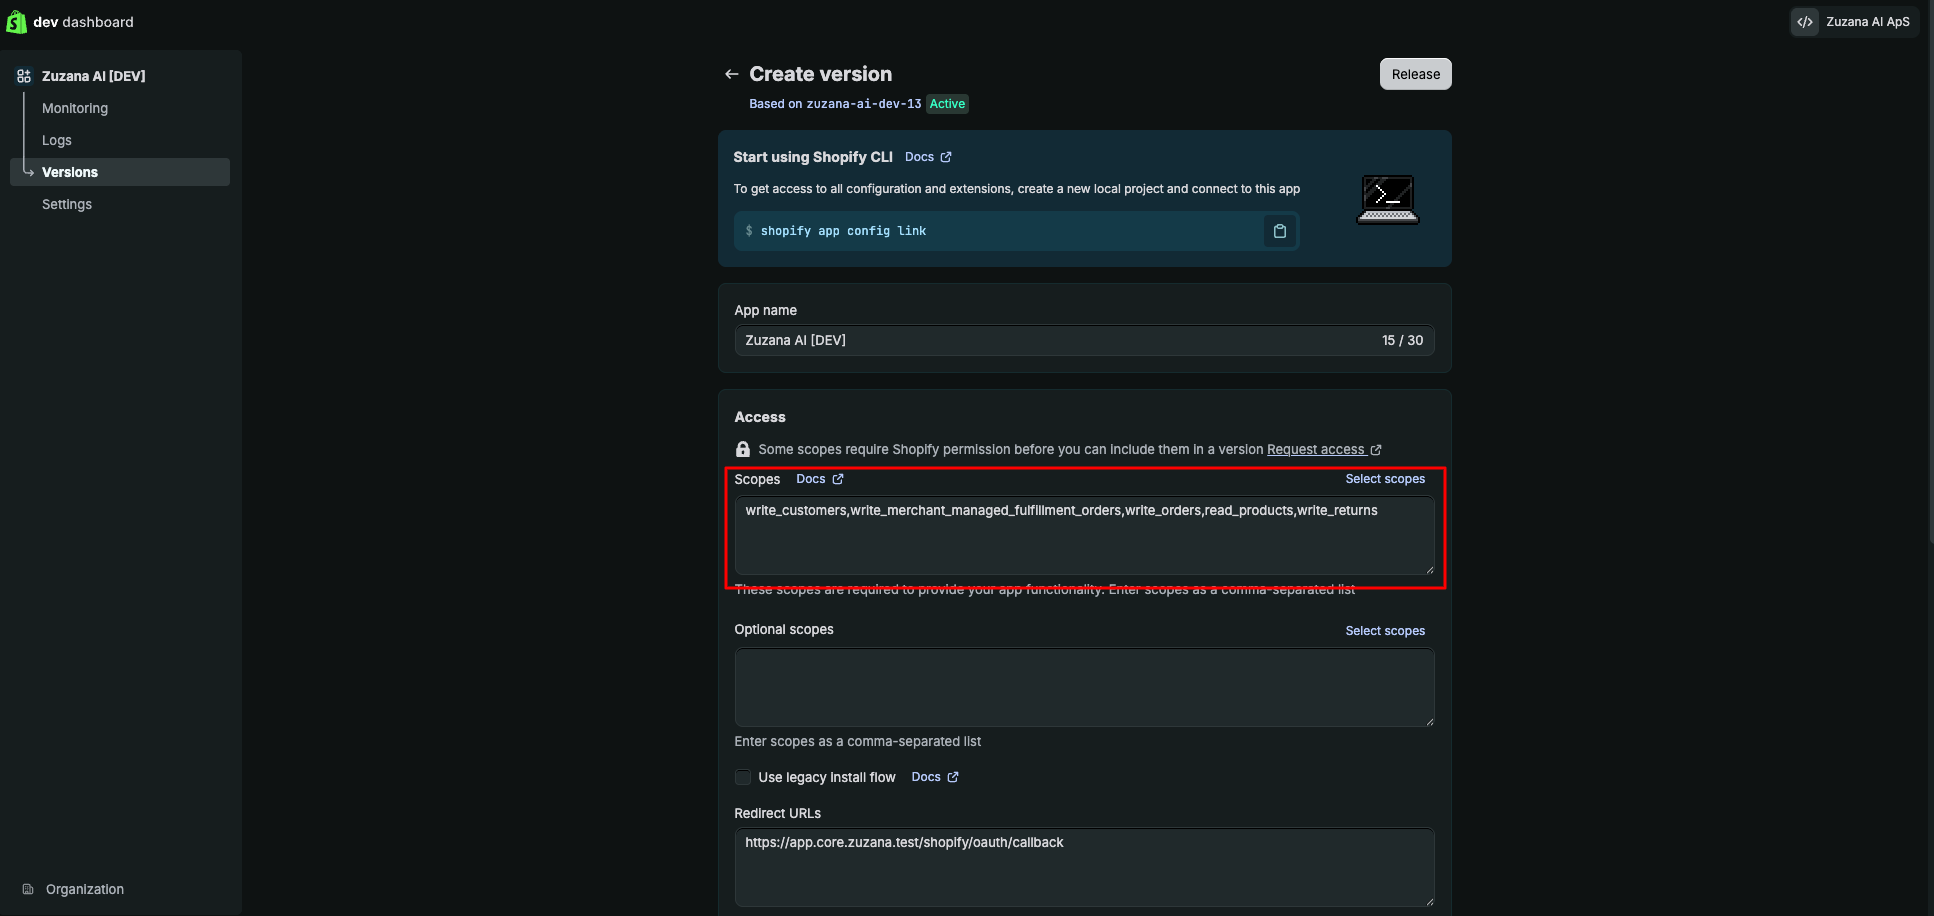
Step 3 - Click Release (top right).
- In the Release this new version? modal, optionally give it a version name/message (helps you track what changed), then click Release. The new version becomes Active.
Part 2 — Re-authorize the store in Zuzana
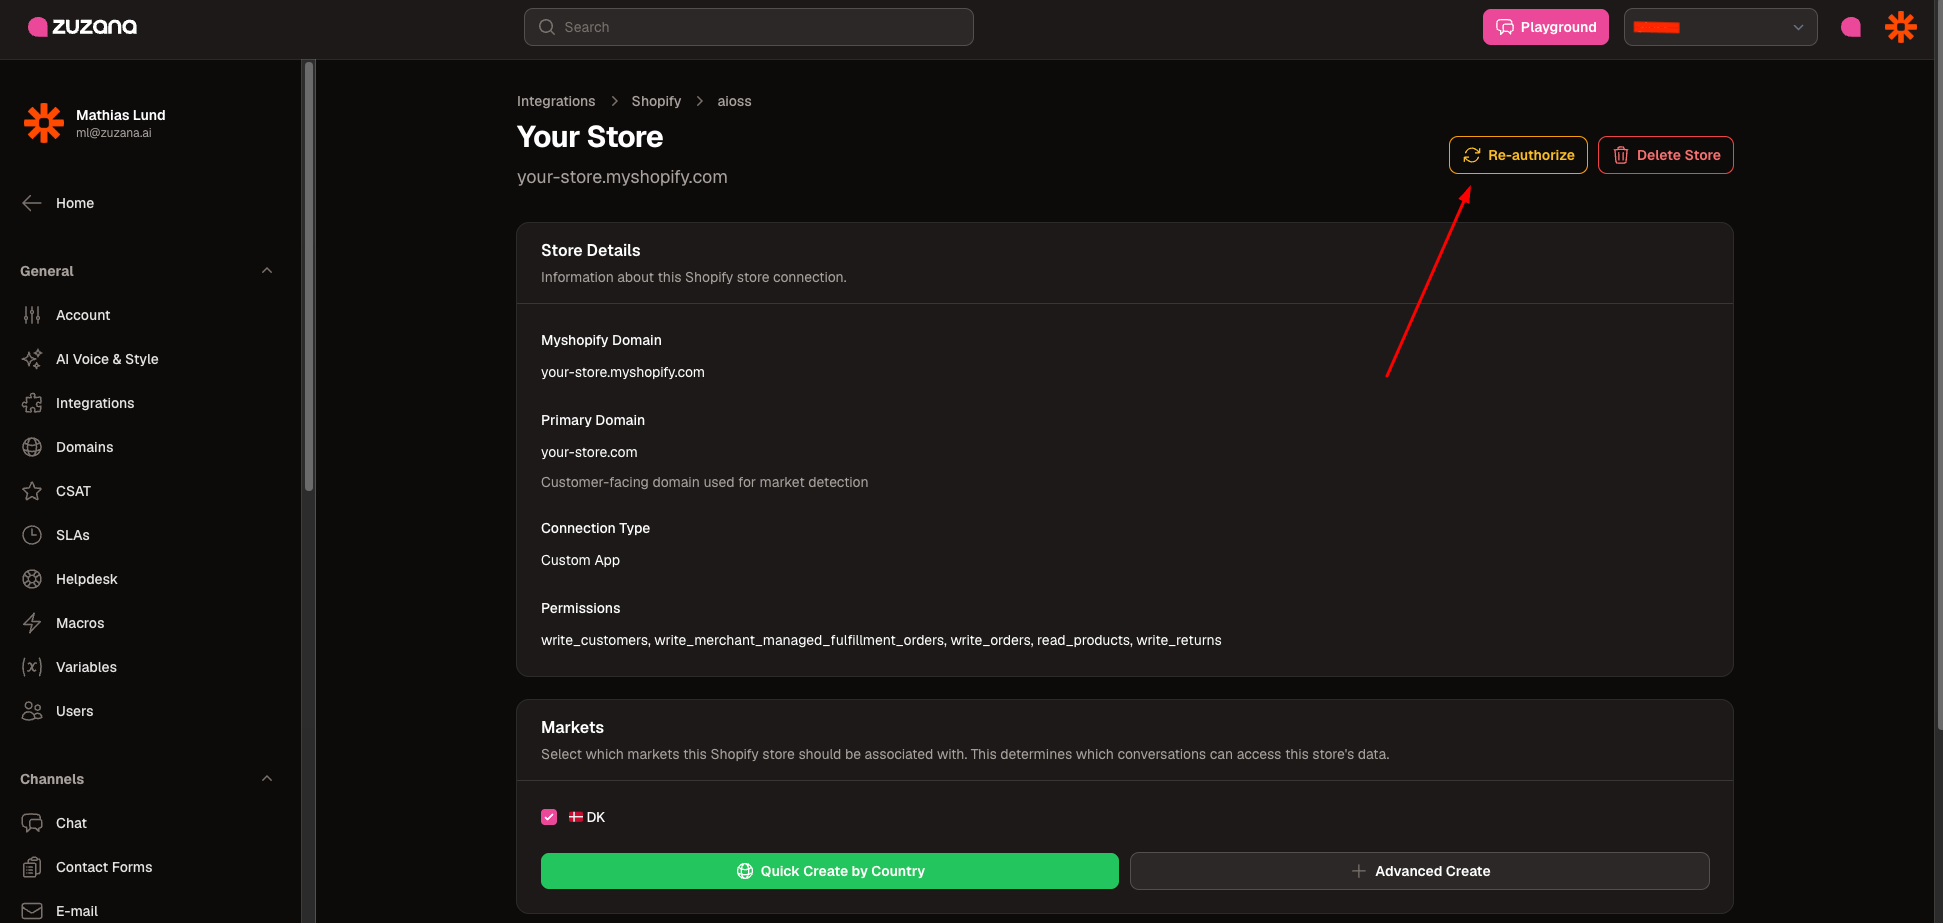
- In Zuzana, go to Integrations → Shopify and open the store.
- Click Re-authorize (top right). This re-runs the OAuth consent flow.
- Approve the updated permission set on the Shopify consent screen.
- Back on the store page, confirm the Permissions line under Store Details now lists the new scope(s).
Step 4
Did this answer your question?